New Portfolio!
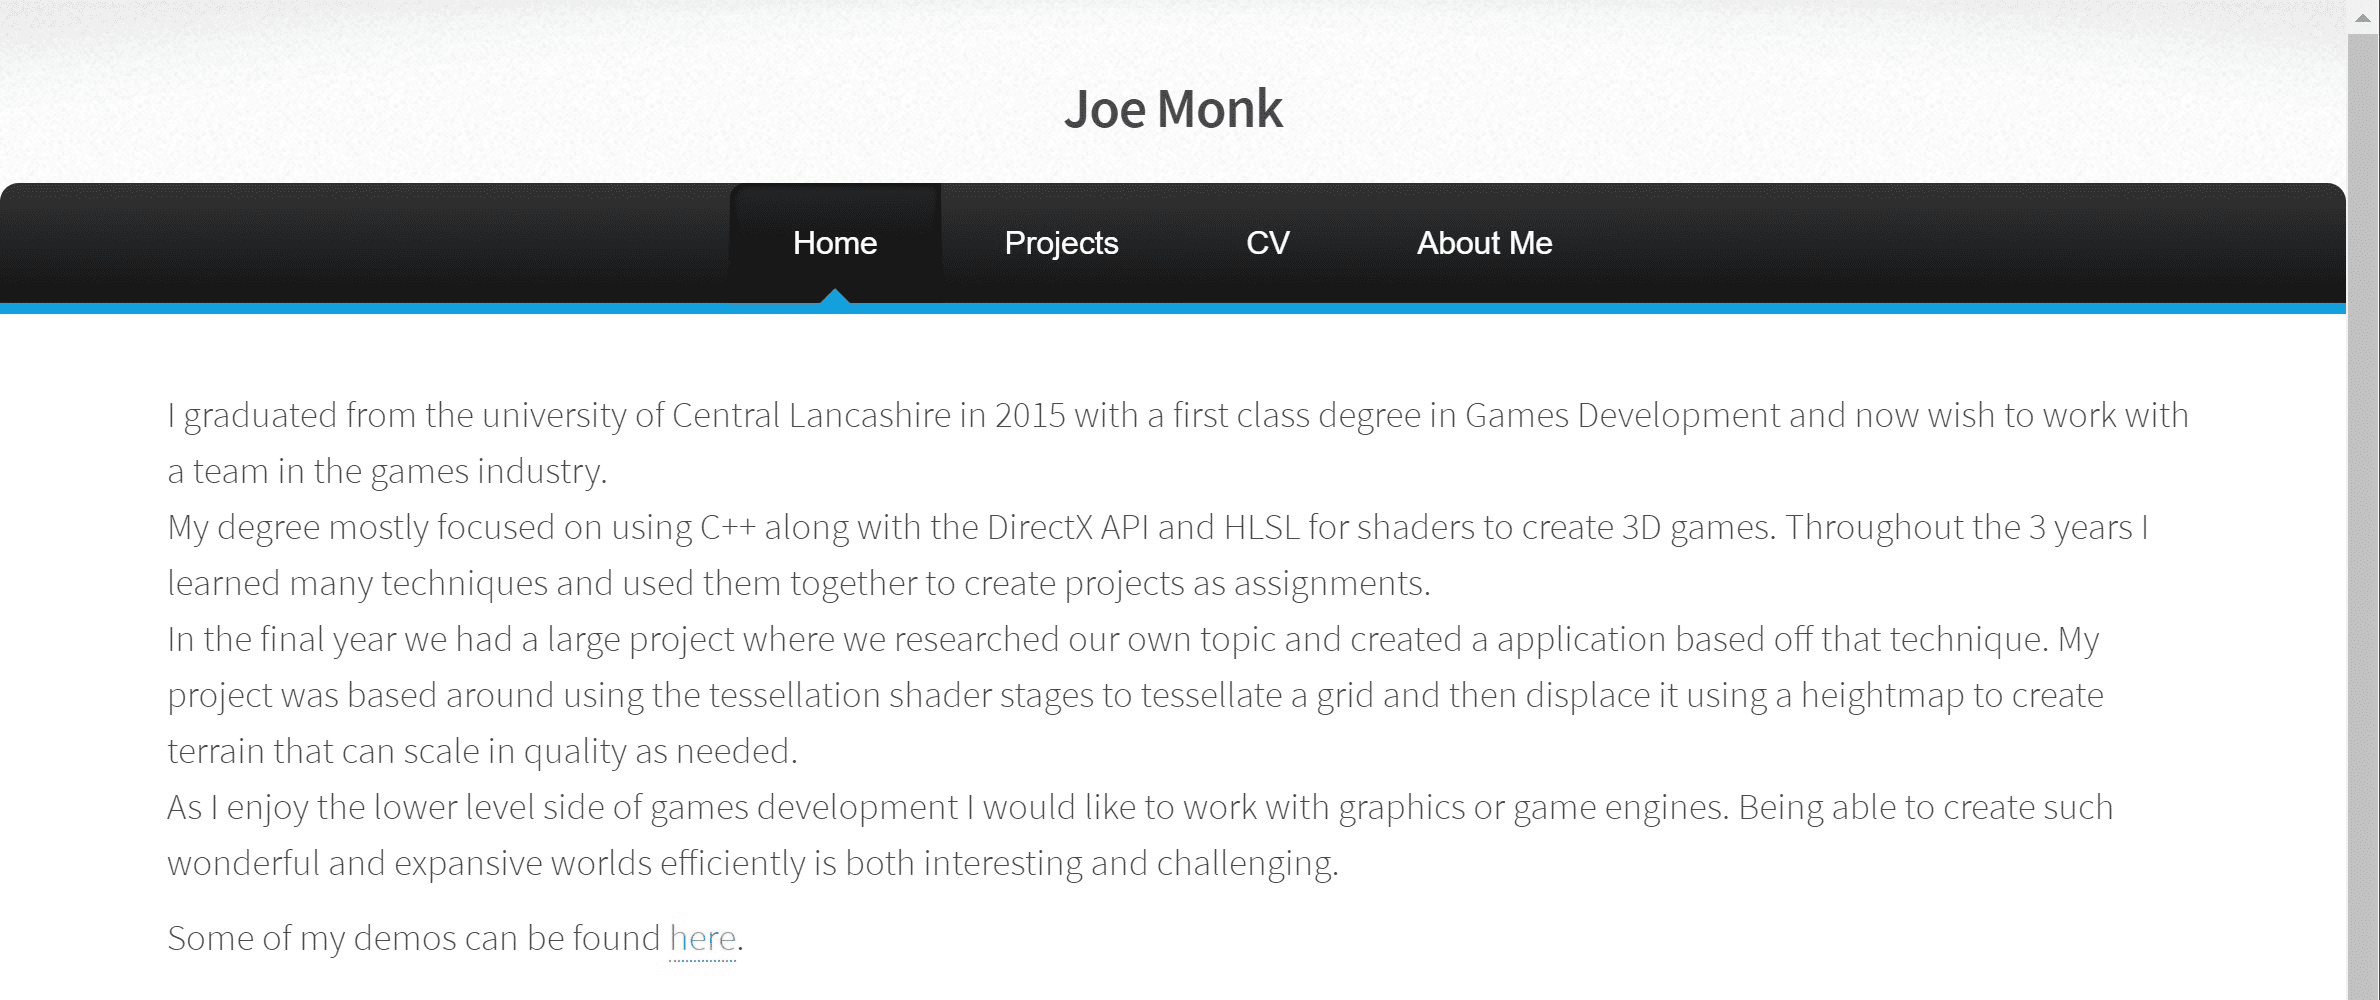
So in an effort to learn some new skills and create a place for me to centralise some thoughts on some of the work I've been doing, I started looking into updating my old portfolio website. The last time I updated it will have been 4 years ago and it was before I had any JS/web knowledge. I originally started this about 4 months ago, but put it down and never picked it up again.
This'll probably be a relatively long and boring post, but it'll be interesting to me to see how things progressed when I come back to it later on. So keeping this updated until I'm happy with the site set-up at least will be worth it to me, even if it's a little dry, winding and dull.

Picking a Framework
Everyone seems to be using web frameworks, and I wanted something that would ease the struggle to make a good looking website on both mobile and desktop so it sounded like a good idea. Much better than a random html5 template that would require a lot of changing and broke on mobile. So, I started looking into which framework to use from the seemingly millions of frameworks. Looking at the comparison sites for static site frameworks, there seemed to be a decision to make first - vue, angular or react.
There was so much information out there and with all 3 seeming to have lots of support and plugins, it didn't seem to really matter which I picked. I started looking at frameworks built on top of them. I liked the look of Nuxt.js so gave that a go, but after a few days and a good attempt, I couldn't quite figure out how to get it to do what I wanted with blog style templates.
So after all that, I ended up just asking my team lead at the time, who did plenty of web development. After a brief conversation around what I wanted from the site (static, multi-paged, blog-able aspects, code high-lighting, good documentation) and my complete failure at making nuxt work for me, he suggested using GatsbyJS.
Setting up
Starting with Gatsby was pretty easy, clone a starter that I liked (gatsby-starter-hello-friend), make a VS Code workspace and push to GitLab. Then I started looking at what needed changing and adding the extra functionality to make it my own. Of course this means that I'll have to understand the system somewhat.
I'm a learn-by-doing sort of person so I started hacking away, seeing how things were effected and understanding how the project was put together. Plenty of fiddling and resetting the repo. There were quite a few issues I wanted to solve straight off the bat, such as images not linking correctly from FrontMatter and I wanted to be able to have floating images from the markdown as part of the page. But as I carried on fiddling and reading documentation, I started to understand how the project was linked together.
Side Images

By using the gatsby-remark-custom-blocks plugin I created classes that set the width to a percentage of normal and floated the class to a side. This does mean I need to create specific css classes for each size and side I want to put images, but as the use cases should be pretty small I don't see this being too big an issue. I should only need a half size image (as seen here) and a 30%.
Sticky NavBar
I really like the ease of navigation around a website when the navbar sticks to the viewport, so I decided to look into how it's done. Browsers seem to keep adding super useful functionality all the time and so all it took was a sticky position and a top of 0. Brilliant. Although I had an issue where the navbar was underneath the content so I just changed the z-index.
Fixing the Cover Image
So the project I started this from had a bunch of front matter presets, which are used to set up the "post" information. This includes dates to sort by, tags to filter by, excerpts and images which can all be shown as part of the post. However in my project, the images refused to connect to the file correctly. After reading the documentation, I couldn't see anything that was obviously wrong, other people seemed to have the same set up working as what I already had. What was weird was that GraphQL knew it was an object, yet couldn't tell me anything about it. I ended up googling around and come across someone with the same problem, and a super helpful comment that fixed my issue.
Continuous Integration!
No one likes having to manually build things and upload them. So knowing I was going to use GitLab and my current AWS set up (just an S3 bucket - cheap and easy), I created a new dev bucket and pointed a new route 53 subdomain at it for testing.
I knew the GitLab-ci.yml file would be easy enough to build, I just needed to pick how I was going to push the built data. Keeping in one language/ecosystem makes things easier so I looked at aws-sdk from npm and it seemed to be what I wanted.
The npm package didn't seem to have the sync with delete functionality easily exposed, whereas the AWS CLI has the super easy syntax of aws s3 sync *build_folder* s3://*bucket_name* --delete.
I couldn't see a docker image that contained both AWS CLI and node, so I built my own based off the lightweight node:alpine image and added AWS CLI. GitLab has a container registry that'll host the built image, so I just pushed it there. It did mean that I had to authenticate the CI environment, which turned out to have a few problems. Adding the auth token seemed to be easy but refused to work. It turned out that conemu on my laptop is set to unicode whereas the GitLab auth token expected the key as base64 encoded utf-8 so running the key through the base64 encoder output different data.

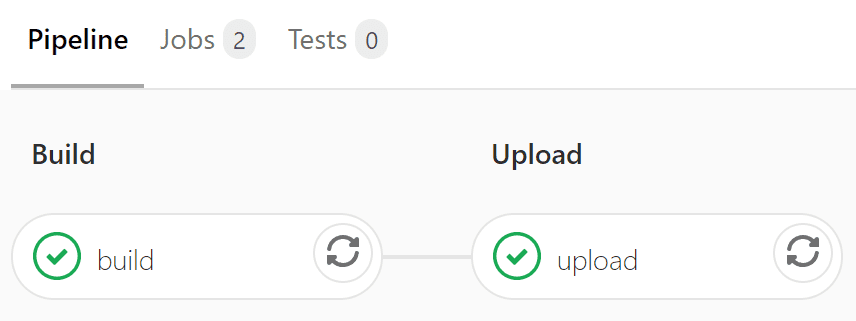
After getting the auth to work, I set up any new pushes to the master branch to be pushed to a dev subdomain, and any tags to be pushed to the main domain. To start I just set up build and upload stages. As part of another step I'll probably add some linting & unit testing.
Other Plugins
Header Links
While looking at the plugins on the Gatsby site, I found a header autolink plugin. I think links to headers are an excellent feature on almost any website and it was so easy to add, I just threw it in. Now all headers have a nice little link icon thing next to them on hover. I was unsure whether I wanted them always visible, so I left them as only on hover.
Google Analytics

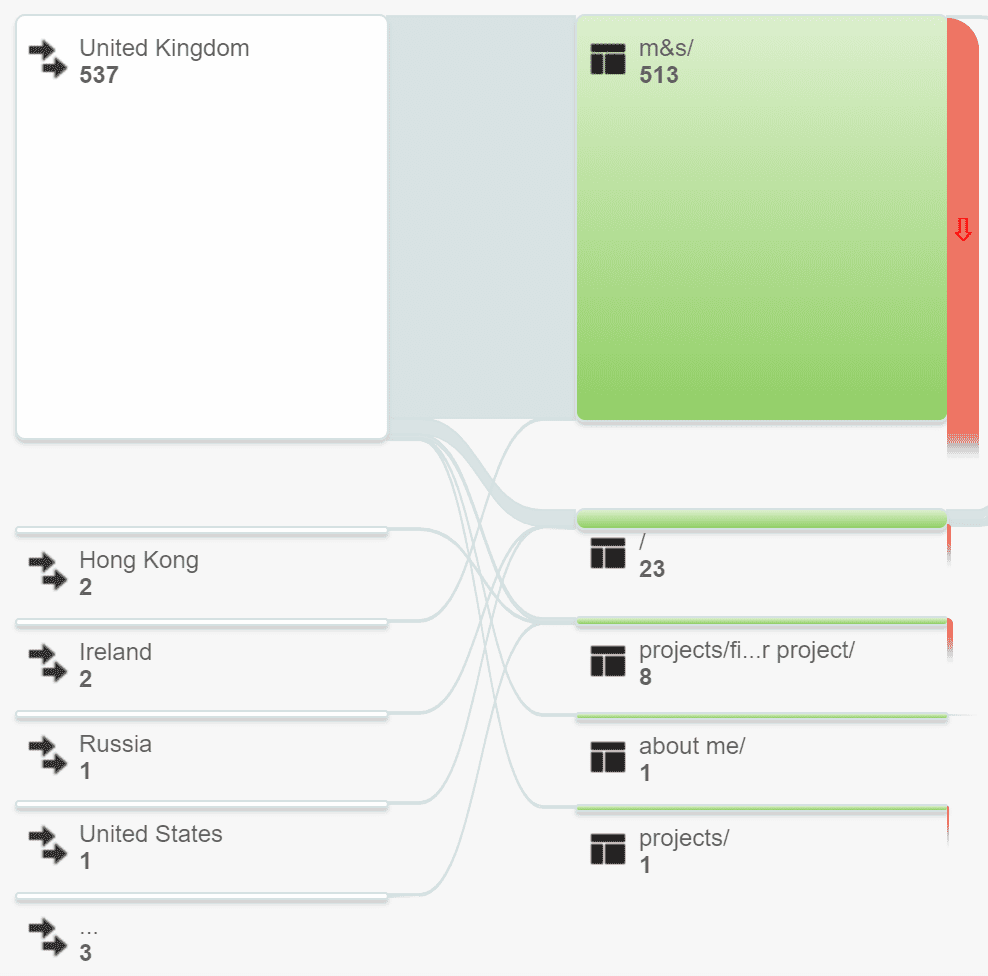
Even in my old site, it was super useful having Google analytics, I could see that most people (and actually a still increasing number of people - about 500 hits/month) went directly to a project I did for Marks & Spencer while I worked there. About 20-30 people per month hit the front page too, which are probably mostly people coming through LinkedIn. So I of course added the Google analytics plugin to keep the same functionality.
Copy Linked Files
I foresee having some small files that I'll want to host with the site, such as PDFs or ZIPs. So while setting up I added the copy linked files plugin. Even if it's not needed, these plugins seem light and small enough that I'd rather just do it while adding other plugins and I have a use case for it.
Site Layout
So the starter I used had the index of the website as the "index" of the posts. I wanted to put them under a different path which meant I had to first figure out how the posts were being generated and how they were attached to the page. They're generated from a markdown files inside a posts folder by the Gatsby pagination, using a title from the frontmatter for the slug and sorted by their date. This data is put into a template which spits out a page, and then the "index" is generated from another template so there can be multiple pages. I attached a "page" path to the path prefix and then changed the path in each markdown file, then created a new index page to replace the front page.
SSL

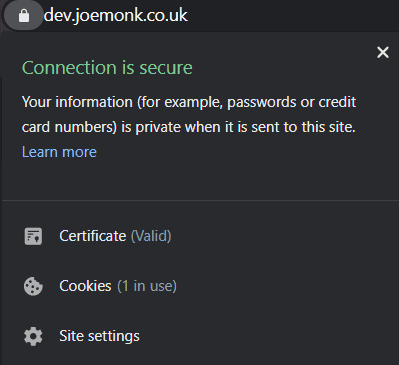
My previous portfolio website was hosted in an S3 bucket, which I wanted to continue with due to both ease and price, but every site now has SSL and I wanted to add it to this site too. As with most things AWS, it was a pain to figure out and all of the docs didn't quite work. S3 buckets can't be served via HTTPS, so you need to route them through Cloudfront. Start with the AWS Certification Manager in "us-east-1" - this is important, Cloudfront will not use any other region - and create a certificate for the domains you want. I created one for both "dev.joemonk.co.uk" and "joemonk.co.uk" - I used to so I didn't have to use "*.joemonk.co.uk" and I could treat them as different sites. With that, in Cloudfront, create a distribution that points to the full bucket, not what they fill in for you, e.g. "domain.s3-website-eu-west-1.amazonaws.com" and have the extra CNAMES as the hostname. With this deployed you can then change the alias for the route 53 hostname to the Cloudfront domain. The www forwarding buckets can also be forwarded only to the https standard domain bucket, which is quite nice and probably unnecessary with Cloudfront doing the heavy lifting.
Final Thoughts
While I'll continue tos use this starter pack and expand on it myself, I think as I've built and modified this up, there's a lot I would (and probably will) change about how it's put together. I have a feeling that by the time I'm happy with this, almost nothing will be left of the original code.
I seriously dislike how the Page class just uses the Post class and the Post class then deals with both the listed post and the full page. They're pretty different, not showing any of the same data really and they're created separately so it's no effort to just have them use their own component, as they effectively do now after my modifications. At some point I'll do it properly.
I do really like the whole layout and ease of adding a post in general though. It's been a pretty easy project to ease myself into web dev and is somewhat different to my day to day work.